Glamour Photography
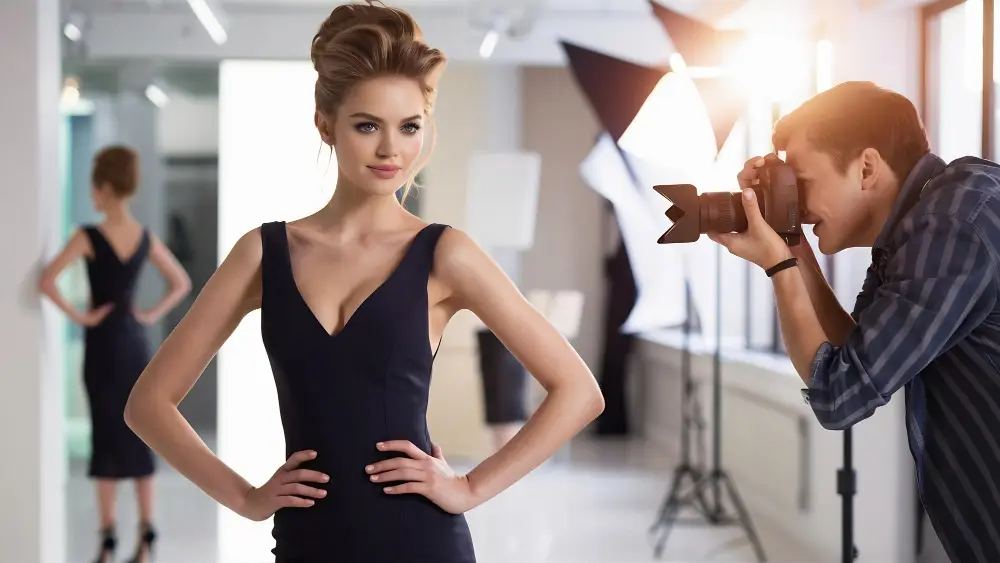
Glamour photography focuses on presenting subjects in a polished, confident manner. These sessions emphasize flattering angles, lighting, and styling to create images that make you look and feel your best. The goal centers on capturing beauty, confidence, and personality in a refined way.
Unlike casual snapshots, glamour portraits involve careful planning of wardrobe, makeup, hair, and poses. The preparation work you do before your session directly affects your final images.
Wardrobe Selection Strategy
Choose outfits that make you feel confident and reflect your personality. Glamour sessions often include multiple outfit changes, allowing you to showcase different looks and styles within one session.
Solid colors photograph better than busy patterns. Patterns can create visual noise in photos and distract from your face. If you love patterns, choose subtle ones and keep them to one piece rather than wearing patterned clothing head to toe.
Fit & Silhouette
Well-fitted clothing creates clean lines and flattering shapes in photos. Clothes that are too tight may create unflattering wrinkles or bulges, while overly loose clothing can add bulk and hide your shape.
Perfectly altered pieces like blazers, fitted dresses, and structured tops photograph well. Flowing fabrics can work beautifully but require careful posing to control how the fabric falls.
Color Choices
Colors affect the mood and feel of your photos. Dark colors like black, navy, and deep jewel tones create a more formal, dramatic look. Lighter colors such as white, cream, and pastels feel softer and more approachable.
Consider your skin tone when selecting colors. Colors that complement your complexion will make you glow in photos, while colors that clash can make skin look washed out or uneven.
Professional Hair & Makeup
Professional hair and makeup make a noticeable difference in glamour photography. A makeup artist understands how makeup needs to be applied for photography, which differs from everyday makeup application.
Camera flash and studio lighting wash out features, so makeup for photography requires more intensity than you’d normally wear. What looks natural in person often appears too subtle on camera, while camera-ready makeup may feel heavy in person but photographs beautifully.
Makeup Timing
Schedule your makeup appointment to finish about 30 minutes before your photography session begins. This timing gives makeup a chance to set and allows you to travel to your session without rushing. Arriving stressed and rushed shows in your photos.
Bring your makeup artist any inspiration photos showing the look you want. This helps them understand your vision and create a style that matches your expectations.
Hair Styling Considerations
Choose a hairstyle that you love and that makes you feel confident. Some faces look best with hair pulled back to show facial features, while others benefit from hair framing the face.
Discuss your outfit choices with your hairstylist. An updo pairs well with off-shoulder or strapless tops, while loose waves complement higher necklines. Coordinating hair and wardrobe creates a cohesive look.
Skin Preparation
Healthy skin provides the best foundation for makeup and photographs well with minimal retouching. Start preparing your skin at least a week before your session.
Hydrate by drinking plenty of water in the days leading up to your session. Well-hydrated skin looks plump and glowing rather than dry and dull. Moisturize daily, focusing on face, neck, chest, and any other skin that will show in photos.
What to Avoid Before Your Session
Skip trying new skincare products immediately before your session. New products can cause breakouts or reactions that show up in photos. Stick with products you know work for your skin.
Avoid excessive sun exposure before your session. Sunburn, tan lines, and sun damage affect how your skin photographs. If you have a tan, ensure it’s even and doesn’t create lines where clothing sits.
Schedule facial waxing or threading at least three days before your session. This timing allows any redness or irritation to subside. Similarly, if you get regular facials, schedule them a week out rather than immediately before your session.
Posing Practice & Body Awareness
Practicing poses before your session helps you feel more comfortable in front of the camera. Stand in front of a mirror and try different angles, hand positions, and expressions.
Pay attention to posture. Stand or sit up straight with shoulders back. Good posture immediately makes you look more confident and polished in photos. Slouching creates unflattering angles and shadows.
Hand Placement
Hands often feel awkward in photos. Practice placing hands naturally rather than letting them hang stiffly at your sides. Gentle touches to your face, hair, or clothing can create graceful hand positions.
Keep hands soft rather than tense. Tension shows in photos and makes hands look stiff and unnatural. Relax your fingers and maintain gentle curves rather than rigid lines.
Facial Expressions
Practice your smile in front of a mirror. Find the expression that feels natural and looks good to you. Some people smile better with teeth showing, while others look best with a closed-mouth smile.
Try lifting your eyebrows slightly during photos. This opens your eyes and creates a more engaged, alert expression. Relaxed, lowered eyebrows can make you look tired or disinterested.
Day of Session Preparation
Get good sleep the night before your session. Fatigue shows in your face through dark circles, puffy eyes, and lackluster skin. Adequate rest helps you look fresh and feel energetic during your session.
Eat a light meal before your session. You need energy to get through the session, but avoid heavy foods that might cause bloating or discomfort. Stay hydrated but don’t drink so much liquid that you need frequent bathroom breaks.
What to Bring
Pack all your outfit options even if you think you won’t wear them all. Having choices allows you to adjust your plans based on how the session flows and how you feel in each outfit.
Bring any accessories you might want to use: jewelry, scarves, jackets, or shoes. These items add variety and interest to your photos. Keep accessories simple rather than wearing multiple statement pieces at once.
Bring a robe or button-up shirt to wear between outfit changes. This protects your hair and makeup while you change clothes. Front-opening garments prevent messing up your hairstyle.
Communication with Your Photographer
Discuss your goals and any concerns with your photographer before your session. Share inspiration images showing styles, poses, or moods you like. This visual communication helps your photographer understand your vision.
Mention any features you feel self-conscious about or angles you prefer. Your photographer can adjust lighting and posing to address these concerns. Most people have something they feel insecure about, and communicating openly allows your photographer to help.
During the Session
Speak up if you feel uncomfortable with a pose or if something isn’t working. Your photographer wants you to look and feel great, and honest feedback helps achieve that goal. Ask to see images on the back of the camera if you want reassurance.
Trust your photographer’s guidance on poses and adjustments. They see what the camera sees and can direct you toward flattering positions. Try suggested poses even if they feel awkward at first, as they often look far better on camera than they feel at the moment.
After Your Session
Allow time for your photographer to edit your images. Glamour photography typically involves more editing than other portrait types. Your photographer will retouch skin, adjust lighting and colors, and polish each image.
Review all your images carefully when they’re delivered. Look at them on a computer screen rather than just your phone, as larger screens show more detail and give you a better sense of the final quality.
Consider printing your favorite images. Printed photos have more impact than digital files and let you enjoy your images daily. Discuss print options with your photographer, as they can recommend sizes and products that showcase your photos best.